
Gun Cleaning for Beginners: A Safe, Step-by-Step First Clean
Your first firearm comes with a homework assignment nobody hands you: keeping it clean. New owners usually fall into one of two traps — they never clean the gun at all, or they drown it in oil "to be safe." Neither is necessary. What protects the gun (and your hands) is a short, safe routine built on rules the industry has published for decades. Here is the first clean, done properly.
Start with safety, not solvent
Cleaning begins before any patch touches the bore. The National Shooting Sports Foundation (NSSF) opens its firearms-safety rules with one instruction that outranks every cleaning step: "Always Keep Firearm Pointed in a Safe Direction." In practice, the muzzle stays pointed where a bullet could never strike anyone — even when you are sure the gun is empty.
The second hazard beginners ignore is lead. Firing residue ends up on the gun, and the solvent that lifts it ends up on your hands. The CDC's National Institute for Occupational Safety and Health (NIOSH) advises shooters and armorers to "Wear gloves and eye protection when using chemicals to clean weapons," and to wash hands, forearms and face before eating, drinking or touching other people. Hand sanitizer does not remove lead — soap and water do. Never clean a firearm near food, and never in a room where children play.
Should you clean a brand-new gun first?
Manufacturers disagree, and the answer is usually on the first page of your owner's manual. Ruger states that its Max-9 pistol "arrived from the factory properly lubricated and ready to fire," so no initial cleaning is required. Browning takes the opposite line: before the first firing, "clean the bore with a cleaning rod and patch, and wipe away any anti-rust compounds."
Both are right for their own guns. The practical rule for a beginner: if the gun feels greasy or bone-dry, clean it before you shoot. Factory preservative can attract grit and slow the action — and cleaning a new gun is the fastest way to learn how it comes apart.
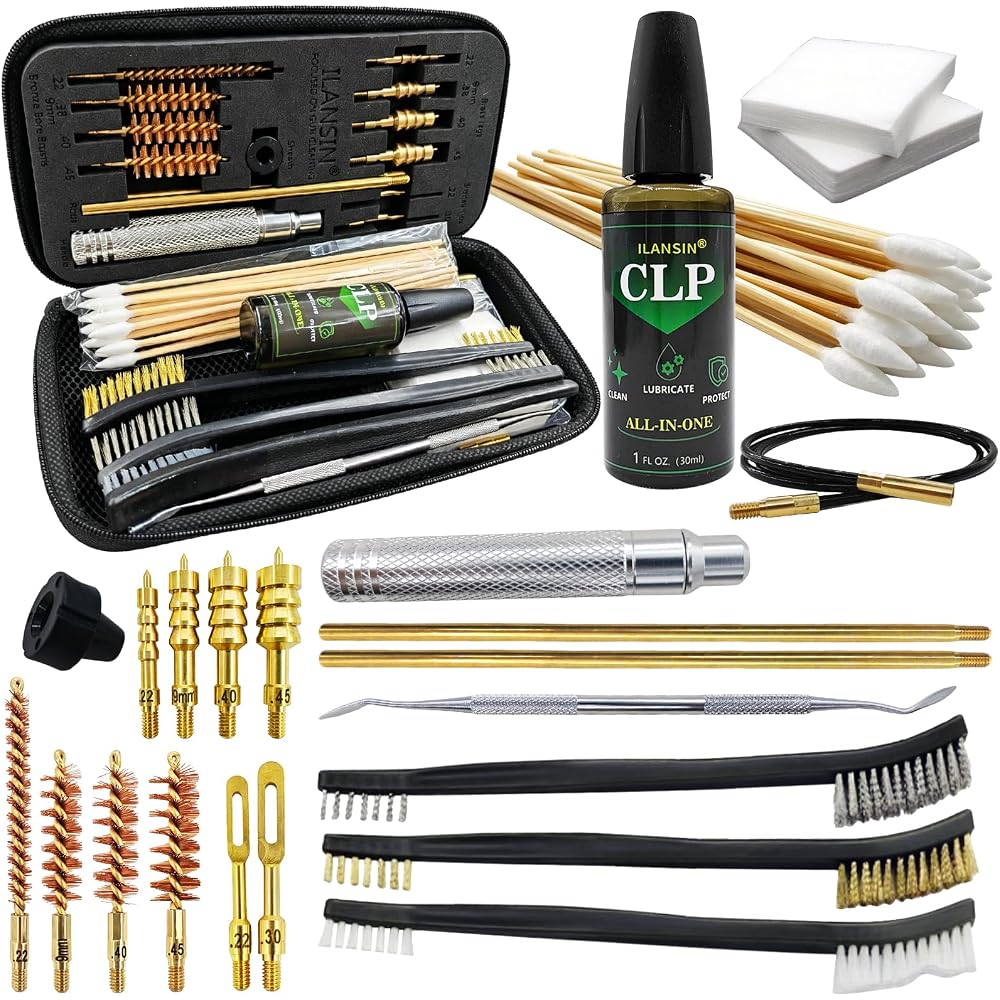
A caliber-matched rod, jag and brush set — the core of any first cleaning kit.
Your first clean, step by step
- Clear and verify the firearm. Remove the magazine, open the action, and look into the chamber — then look again. Treat the gun as loaded until you have physically confirmed it is empty. Work in a well-lit place, alone, with no live ammunition on the bench.
- Set up a safe bench. Good light, a cleaning mat to catch solvent and small parts, gloves and eye protection, and no food or drink within reach. (A cleaning mat also keeps pins and springs from rolling away.)
- Field-strip the gun to the extent your owner's manual describes. No further — beginners rarely need a full disassembly.
- Clean the bore. Push a correctly sized, solvent-wetted patch through from the chamber end, then run a correctly sized brush the full length of the bore. Follow with dry patches until they come out clean, then a very lightly oiled patch. Ruger's warning is worth memorizing: "Use correct size patches and brushes. Larger sizes will bind in the bore." Keep the rod moving one direction — do not reverse it while a brush or patch is inside.
- Clean the action and exterior. Use solvent on patches and a nylon brush for the slide, bolt, rails and breech face, then wipe everything dry with a lint-free cloth.
- Lubricate — lightly. A few drops on the friction points your manual names: slide rails, the outside of the barrel, the bolt. More is not better: "Excess accumulations of oil tend to attract particles of dust and dirt" and can congeal in cold weather. Finally, run one dry patch through the bore so no oil remains — firing a bore partly blocked by oil can damage the gun. Then function-check it while it is still unloaded.
Five mistakes beginners make
- Over-oiling. A sheen, not a puddle. Excess oil collects grit and slows the action.
- Wrong-size patches or brushes. An oversized brush jams in the bore; an undersized one does not clean. Match the size to your caliber.
- Reversing the rod mid-bore. It bends rods and can jam a brush. Push through, then reset.
- Skipping lead hygiene. Gloves on, and wash up the moment you finish — before food, drink or your phone.
- The wrong chemistry. Harsh, acetone-based or caustic cleaners can damage polymer frames, rubber grips and some finishes. Use a firearms-specific solvent, and test it on a hidden spot first.
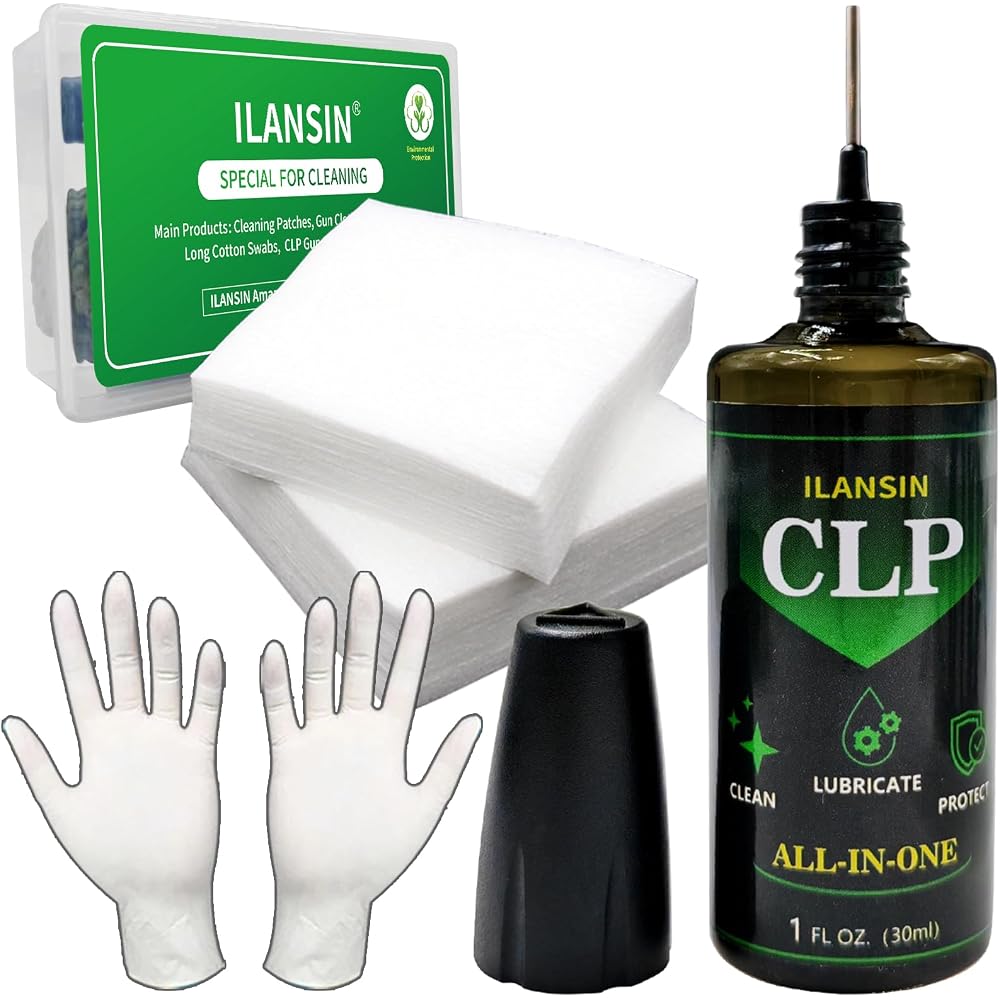
A single CLP cleans, lubricates and protects — one bottle instead of three.
What a first cleaning kit should include
You do not need a wall of tools. A beginner kit is four things: a caliber-matched rod-and-jag kit — our 9mm pistol kit or the broader 17-piece universal kit covers the common handgun calibers — then consumables (bulk 100% cotton patches), a CLP that cleans, lubricates and protects in one bottle (our 30ml CLP with needle oiler reaches tight spots), and optionally a solid-brass jag set so every caliber gets a correctly sized tip. Consumables are what you re-buy; buying them in bulk drops the cost per clean fast.
For the buying logic behind those items, see our guides to choosing patches and to what CLP actually does, plus the brass jag set explainer.
Buying for a store, a range or your own brand?
Every item above is manufactured in-house and available wholesale — mixed-SKU cartons, private label from 500 pcs, and single-unit samples on Amazon if you want to test the product first.
Wholesale & Distribution →OEM / ODM →
Or order a single sample to see the quality first.
Sources
- NSSF — Rules of Firearm Safety: nssf.org/safety/rules-firearms-safety
- CDC / NIOSH — Preventing Occupational Exposures to Lead and Noise at Indoor Firing Ranges: cdc.gov/niosh
- Ruger — Mark IV & bolt-action owner's manuals (bore/brush/oil guidance): ruger.com
- Browning — owner's manual, initial cleaning & lead-exposure notice: browning.com
Quoted manufacturer and industry guidance is reproduced briefly and attributed above; all other wording is our own. Always follow the specific owner's manual for your firearm.